
I love a good candle, it adds warmth and comfort to a home in my opinion and creates ambiance that is hard to replicate with anything else. However as someone that really cares about what I put in my body and expose my body to health-wise I started to feel guilty burning synthetic candles. In my humble opinion simple is best, we don’t need tons of filler ingredients and preservatives that are found in almost all foods and yes even candles.
So for years I just quit burning candles and I started noticing that whenever I was in an area with synthetic candles burning I would get the nastiest headaches from breathing in the fumes. This further solidified me boycotting them from my environment.
And yes, before you ask I did try the healthier brands and they were fine but felt a bit overpriced for the amount of burn time I was getting out of them. Also I’m a diy girly. Nothing and I really mean that makes me happier then trying to create something for myself. It makes me feel like a kid again.
So yes, I’m entering my candle making era. I had a few rules. They had to be 100% natural and clean, I didn’t want to add traditional dyes and I wanted them to smell amazing as well. I basically just grabbed random things from my house to try as dyes and fragrances and then because I LOVE candlesticks and didn’t want to wait on a mold to arrive from amazon, I also crafted my own mold and yes the home depot man did look at me very weird. (Haters gonna hate.)

What You’ll Need
–Organic beeswax. You can also use soy but I think beeswax is better.
–Candlewicks. These are great
–Containers. I usually pick them up from my local goodwill. You can also order glass containers that are made for candles from amazon.
–A Saucepan: I used an old one that I didn’t mind loosing.
–Tea: I used chamomile and star anise for my tea infused candle
–Dyes: I used tumeric for my candlesticks and tried matcha powder as well. I want to try beetroot next. You can find some amazing natural dye ideas online.
–For the diy candlesticks: You’ll need pvc pipe cut into 10″ sections. You’ll also need a piece of cardboard and a little can of spray foam.
–Essential Oils: My favorite is rose and lavender.

The Process
-For the candlesticks. You are going to want to cut a piece of 3/4″ pvc pipe into 11″ pieces and then your gonna take the cap off that bottle of spray foam fill the bottom of one piece with said spray foam and then bop that sucker right onto the piece of cardboard holding it in place until it can stand on its own. Its not pretty or aesthetic but its gonna work. Trust the process.

The goal is to create a cap with the spray foam so no wax can seep through. Once its stable enough to stand on its own your going to want to very carefully place it into the freezer for at least twenty minutes or ideally overnight.
Meanwhile melt your wax in the saucepan over medium low heat until wax is totally melted. I used small disposable cups to mix my dyes into the melted wax, this is also when you would want to add whatever scents your using.
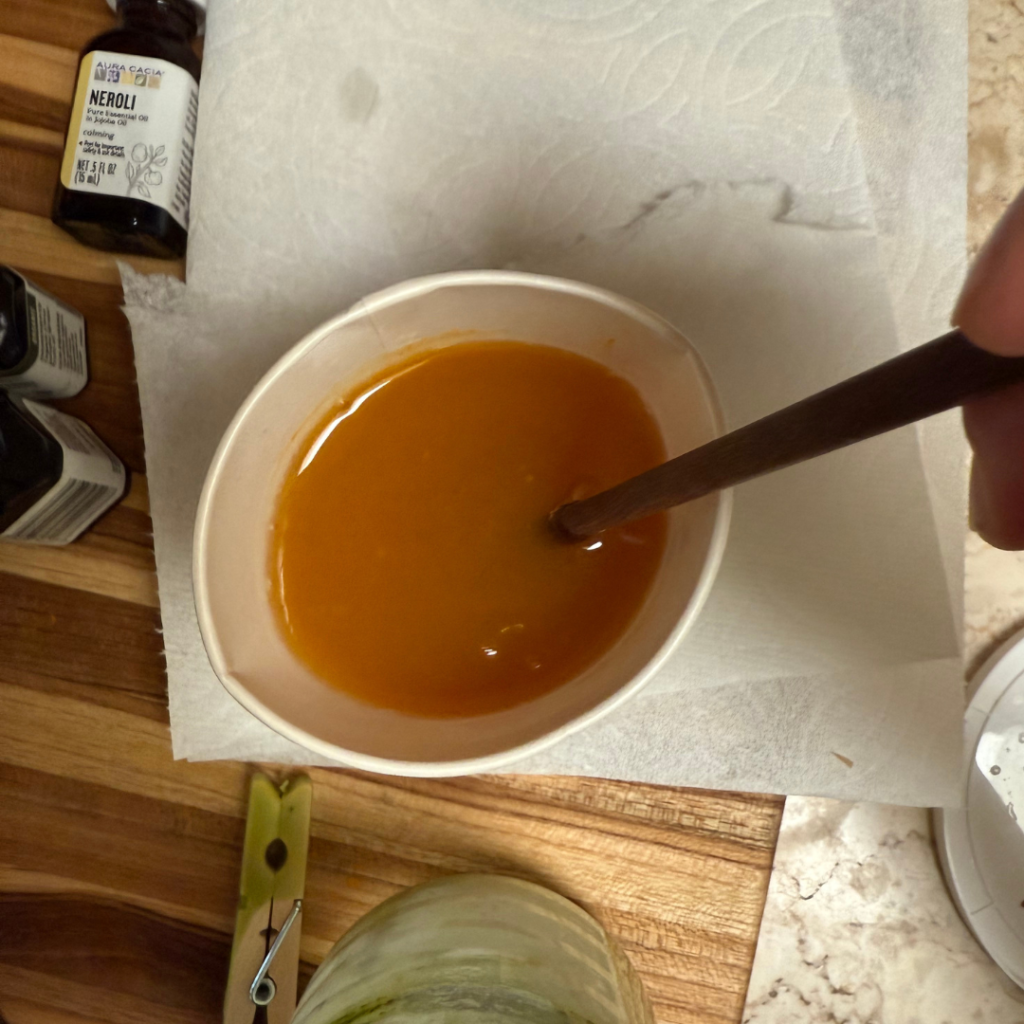
Dab a little bit of the wax onto the bottom of the candle wick to hold it in place and then fasten your wicks with a clothespin or candlewick holder (I lost mine) and then pour your wax into the container your using for your candle. For the pvc candle you’ll want to remove them from the freezer and fill right away. I like to top with a little tea for pretties as well as a few more drops of essential oil.
Allow the candles to completely cool to touch. For the pvc candlesticks you’ll want to pop them back into the freezer for about thirty minutes. The wax will shrink from the cold. You may have to push the bottoms through and then they’ll pop right out of the molds.

This is my disclaimer. These burn great for me but as with any candle I recommend not burning while your gone, don’t burn around children or expose flame to anything flammable. I’m not responsible if you burn your house down due to neglecting to blow them out before you go to bed.
kk cheers! happy candle making friends!
-liz 🙂
Leave a Reply